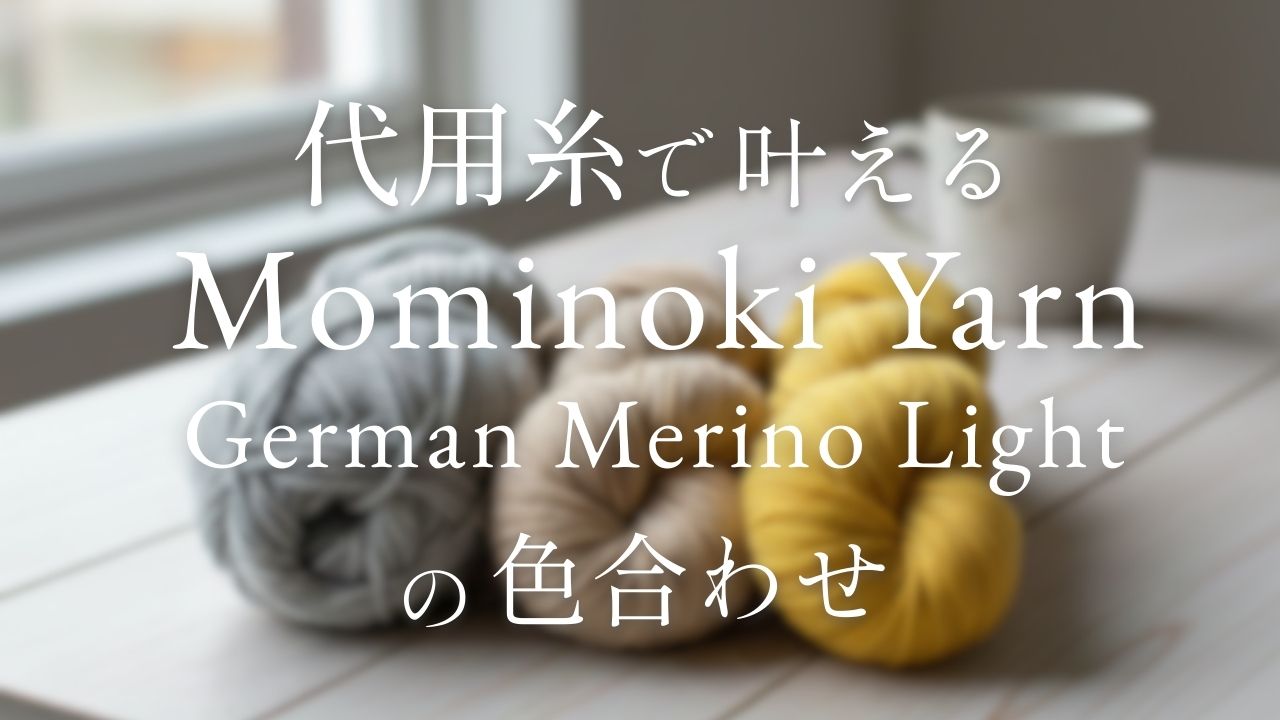
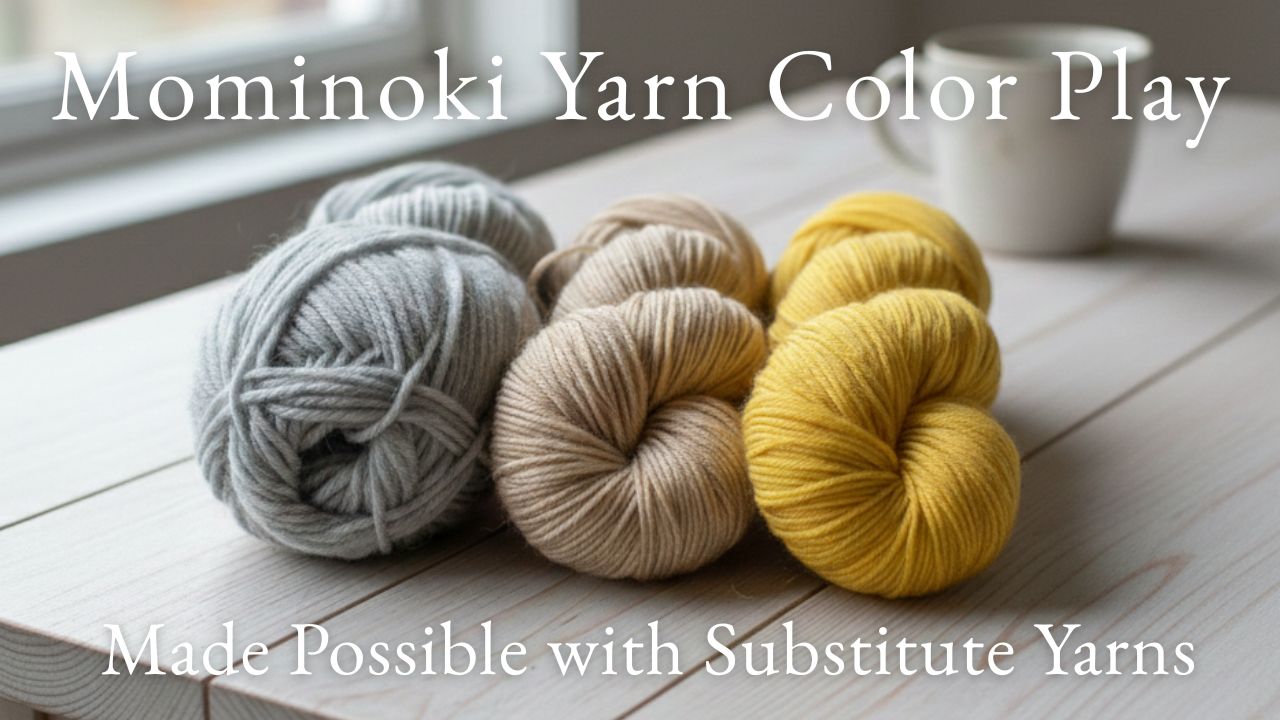
When you’re knitting a pattern and don’t have the specified yarn (designated yarn) or simply want to use a yarn you prefer, knowing “how to choose a substitute yarn” and “how to calculate the required amount” is essential.
This article explains the impact of thickness differences on the finished size, how to find a suitable substitute yarn, and how to calculate the necessary yarn length, using concrete examples suitable for beginners.
The Single Most Important Rule for Choosing a Substitute Yarn

If you’re unsure how to choose a substitute yarn, remember this one simple rule:
Choose a yarn that is roughly the same thickness (weight) as the designated yarn.
If you follow this rule, you can stop reading here! But if you’re still feeling anxious or unsure, continue reading below for a detailed explanation of why this rule works and how to implement it.
Why Matching Thickness is the Key
Assuming you intend to knit the pattern exactly as written (following the specified stitch count and row count), matching the yarn thickness is crucial because:
- It eliminates complex size adjustment calculations.
- While gauge varies between knitters, using the same yarn weight will minimize large gauge discrepancies.
- Small differences in gauge (e.g., 1–2 stitches or rows) can usually be corrected by changing your needle size by one or two sizes, or by adjusting during the finishing process (blocking/steaming).
If the yarn thickness is significantly different, these simple adjustments won’t be enough.
What Happens If the Yarn Thickness Is Vastly Different?
If the yarn is thinner than the designated yarn:
- Using a thinner needle: The resulting fabric will be smaller than the intended finished size, potentially making a garment unwearable.
- Using the designated needle size: The stitches will become loose and “gappy” (low-density). For inexperienced knitters whose tension is not yet consistent, the resulting fabric will look uneven and messy.
If the yarn is thicker than the designated yarn:
- Using a thicker needle: The resulting fabric will be larger than the intended finished size. While the garment will be wearable, it might be too bulky, heavy, or have sleeves that are too long.
- Using the designated needle size: The stitches will become tight and dense, resulting in a stiff, firm fabric. Stiff garments are generally uncomfortable to wear.
While intermediate and advanced knitters can adjust by holding strands of thinner yarn together or calculating new stitch/row counts based on gauge, this is difficult and time-consuming for beginners.
Therefore, sticking to the same yarn thickness is the easiest path to success.
Example: How to Choose a Substitute Yarn and Calculate the Required Amount
We will now walk through the process of choosing a substitute yarn and calculating the required amount, using a real-world example of a completed sweater.
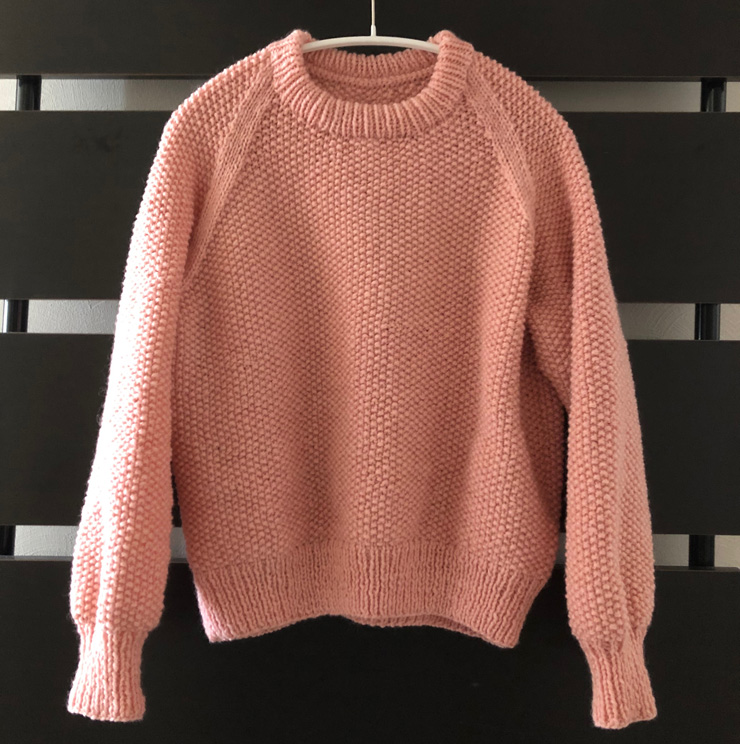
Determining the Substitute Yarn
To choose a substitute, you must first know the key specifications of the designated yarn.
Step 1: Gather Information from the Pattern
First, check the designated yarn and the needle sizes specified in the pattern and write them down.
The pattern calls for two sizes: Japanese 8 for the ribbing (cuffs, hem, collar) and Japanese 10 for the main body and sleeves. Therefore, we should choose a yarn suitable for a Japanese 10 needle.
Quick Needle Size Conversion
| Japanese Size | Metric (mm) | US Size Equivalent (Approx.) |
| 8 | 4.5 mm | US 7 |
| 10 | 5.1 mm* (or 5.0 mm) | US 8 |
For a complete comparison chart of Japanese, Metric, and US needle sizes, please see our dedicated guide:
→ Knitting Needle Size Comparison Chart
Step 2: Look Up the Designated Yarn’s Specifications
We need the following key information for the designated yarn (Grandir):
Analysis: The yarn’s recommended needle size (Japanese 7–9) suggests it falls into the DK or Light Worsted category on the international CYC standard. Since the pattern uses a Japanese 10 (6.0mm) for the main body, we should look for a Worsted/Aran weight yarn, or at least a thicker end of the DK/Light Worsted.
Conclusion for Substitution: Look for a substitute yarn that:
- Is recommended for a needle size in the range of Japanese size 7 to 10 (4.2mm to 6.0mm).
- Falls within the DK, Light Worsted, or Worsted weight range (CYC standards #3 or #4).
Checking if the Yarn Can Be Substituted
Now, check the specifications of your potential substitute yarn on its label.
Example Substitute Yarn Specs:

- Recommended Needle Size: Japanese size 7–9 (approx. 4.2mm–5.5mm)
- Length and Weight Per Ball: Approx. 62m (67 yards) per 30g (1.0 oz) ball.
Understanding Japanese Yarn Labels
While the label may be in Japanese, look for the following key specifications (often accompanied by universal symbols):
-
使用針(Recommended Needle) -
長さ(Length) and重さ(Weight) -
構成(Fiber Content)
The recommended size (7–9) confirms this yarn is also in the DK or Light Worsted range, which is suitable for substitution in this project.
How to Calculate the Required Amount
Once you have decided on a substitute yarn, the next question is: “How many balls/skeins do I need?”
The key to answering this is using the total length required, not the weight. This is because materials vary greatly—100 grams of silk might be much longer than 100 grams of thick wool.
Calculate the Total Length Required by the Pattern
First, use the designated yarn’s weight and the weight/length per ball to find the total length required by the pattern.
Calculate the number of balls of designated yarn:
- Pattern Required Weight: 465g
- Designated Yarn Ball Weight: 40g
- Calculation: 465g ÷ 40g = 11.625
- Always round up to the next whole ball: 12 balls
Calculate the total length required:
- Total Balls: 12 balls
- Designated Yarn Length Per Ball: 72m (78 yds)
- Calculation: 12 balls × 72m/ball = 864m (945 yards)
Calculate the Required Balls of the Substitute Yarn:
- Total Length Required: 864m (945 yds)
- Substitute Yarn Length Per Ball: 62m (67 yds)
- Calculation (using meters): 864m ÷ 62m = 13.935…
- Always round up to the next whole ball: 14 balls
Calculate the Required Balls of the Substitute Yarn
Now that you know the total length needed (864m), use the length of the substitute yarn to calculate how many balls you need.
- Total Length Required: 864m
- Substitute Yarn Length Per Ball: 62m
- Calculation: 864m ÷ 62m = 13.935…
- Always round up to the next whole ball: 14 balls
You should plan to purchase 14 balls of the substitute yarn.
Summary
How to Choose a Substitute Yarn: Choose a yarn that is the same thickness (weight) as the designated yarn.
How to Calculate Quantity: Use the length (meters/yards) to calculate the total amount required.
While seeing the calculations written out might make it seem complicated, once you understand the core concepts, you will gain the confidence to knit whatever you like!
Remember that knitting is a process of trial and error. Even professional designers unravel and re-knit multiple times. If you are new to knitting, it is normal for things not to work out perfectly on the first try. Enjoy the process, and if you think the yarn was a mistake, simply unravel it and start something new!