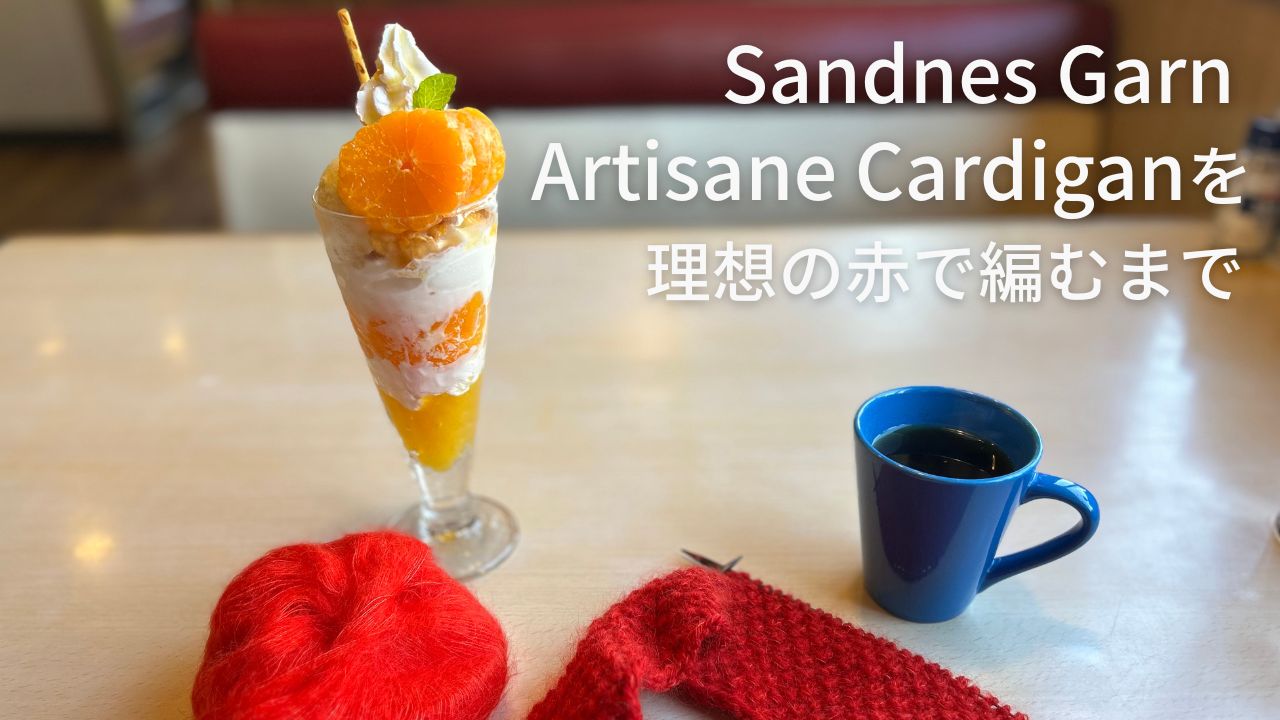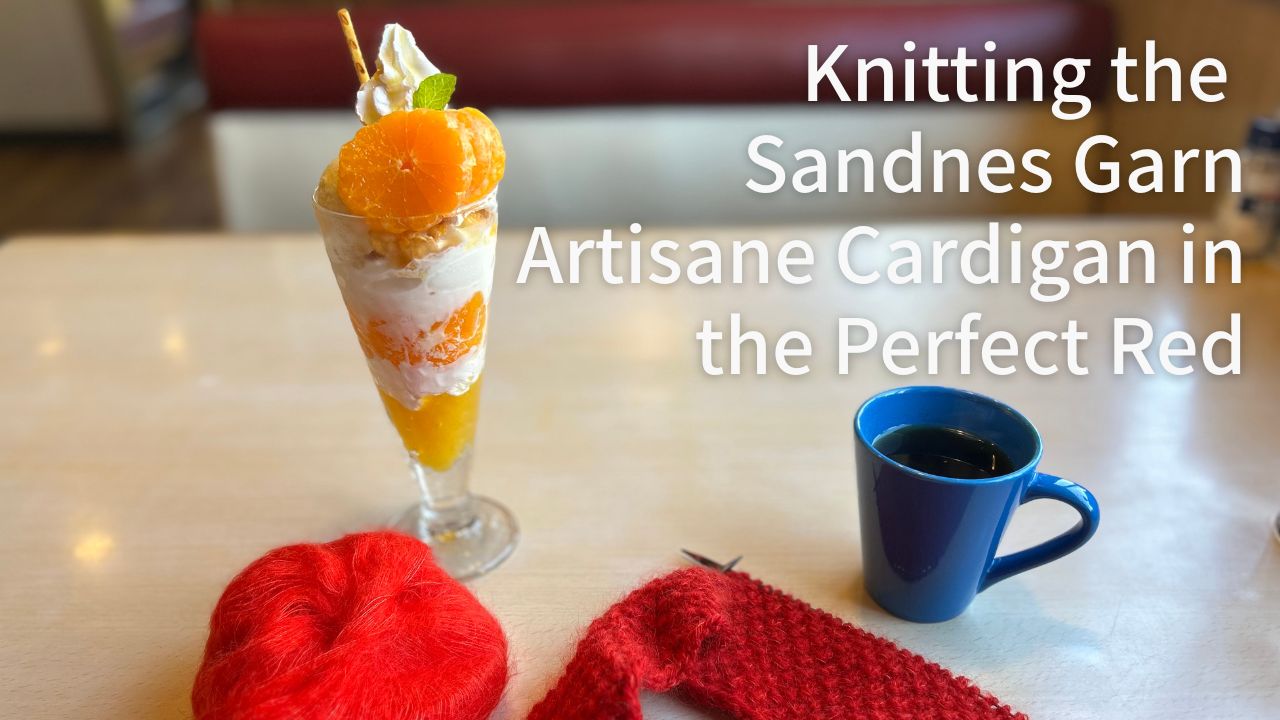
The Artisane Cardigan, featured in Sandnes 2308, DIY (Vol. 1), was a project I knew I had to make the moment I saw it.
At first glance, the design and construction seemed straightforward, but as I delved into the pattern, I found myself facing a familiar challenge: the “Italian Bind-Off.”
What Kind of Pattern is the Artisane Cardigan?
The Artisane Cardigan is part of the Sandnes 2308, DIY (Vol. 1) collection. While I own the physical book, the individual pattern is also available for purchase on Ravelry.

The construction is top-down. It features various textured stitches that make it both a fun knit and a stylish garment.
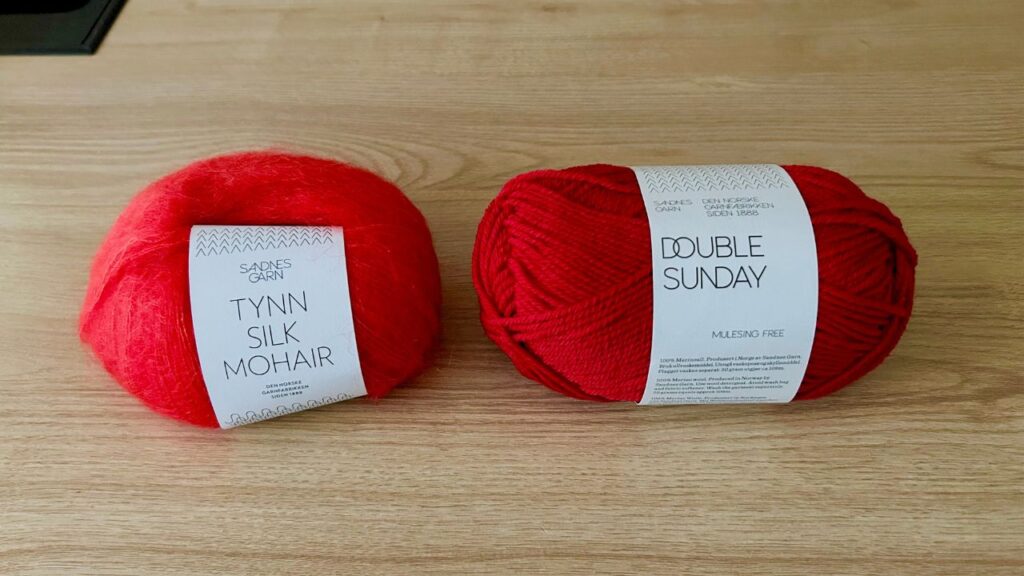
Finding the Perfect Red: A Quest for the Right Yarn

My journey began with a strong desire to knit this cardigan in a specific shade of red. While the official kit was available, it didn’t offer the exact color I had in mind. I love Sandnes Garn, and although their Double Sunday line has several reds, they weren’t quite right—either too orange-toned or too dark. I wanted something perfectly in the middle.
Achieving the “Multiplication Effect” by Holding Yarn Double with Tynn Silk Mohair
o achieve my ideal red, I used a technique I often rely on: adjusting the tone by holding a strand of mohair together with the main yarn.
- Double Sunday: A slightly dark red (Color 4219).
- TTynn Silk Mohair: A brighter, poppy red (Color 4018).
By combining these two, I created an “overlay” effect to produce the perfect, vibrant red.
Top-Down Construction: Simple Appearance, Hidden Challenges
The overall construction follows a top-down method. After finishing the back and front pieces, stitches are picked up from the right front, across the back, to the left front to work a 2×2 rib. The sides are joined using mattress stitch, and stitches for the sleeves are picked up from the body. The cuffs are also finished with 2×2 ribbing.
The most intricate part of this pattern is the button band. It involves picking up stitches from the body, creating a new edge using an Italian Cast-On on a separate needle, and then working them together in double knitting.
From the start, I knew the Italian Bind-Off (Italian BO) and the button band construction would be the hurdles to clear.
Italian BO or Standard Ribbed Bind-Off?
In the original English pattern, it is simply called the “Italian cast-off” (Italian BO). Having struggled with this before on the Amy Slipover, I initially considered substituting it with a standard tubular bind-off for 2×2 rib. However, there are actually two ways to interpret “Italian BO”:
- A standard sewn bind-off for 1×1 rib.
- A version with “setup rows” that creates a rounder, professional finish (Tubular Bind-Off).
Given that this pattern includes specific setup rows, the second, more voluminous finish is the intended one
A Moment of Frustration

I attempted the Italian BO for the hem as per the pattern, but I struggled to grasp the logic of the setup rows and the structure of using two needles. Driven by a desire to finish the project before the end of the year, I eventually pivoted and used a standard ribbed bind-off. At the time, I thought, “This will do.”
…But I would soon realize that was a mistake.
The moment I started the button band, I understood why Sandnes Garn insists on the Italian BO. In the next post, I will dive deeper into the button band construction and the “true identity” of the Italian BO that I eventually uncovered.
Related Posts
The real magic happened at the finishing stage.
In Part 2, I share how I knitted the unusual front band, learned the slit buttonhole technique,
and finally realized that “Italian BO” actually means Tubular Bind-Off.
If you’re curious how this cardigan truly came together, don’t miss the next post.