I have knitted many sweaters from Japanese patterns before.
But when I made We Are Knitters’ Classic Sweater,
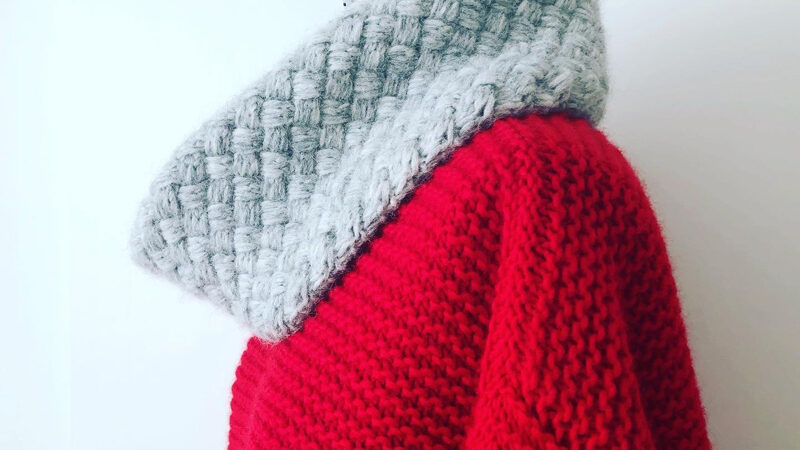
I found a very different way to join the parts — especially around the neckline.
At first, I thought it was just a simple garter-stitch sweater.
The stitches were easy, and I didn’t plan to write about it.
But the finishing steps were so surprising that I wanted to share my experience.
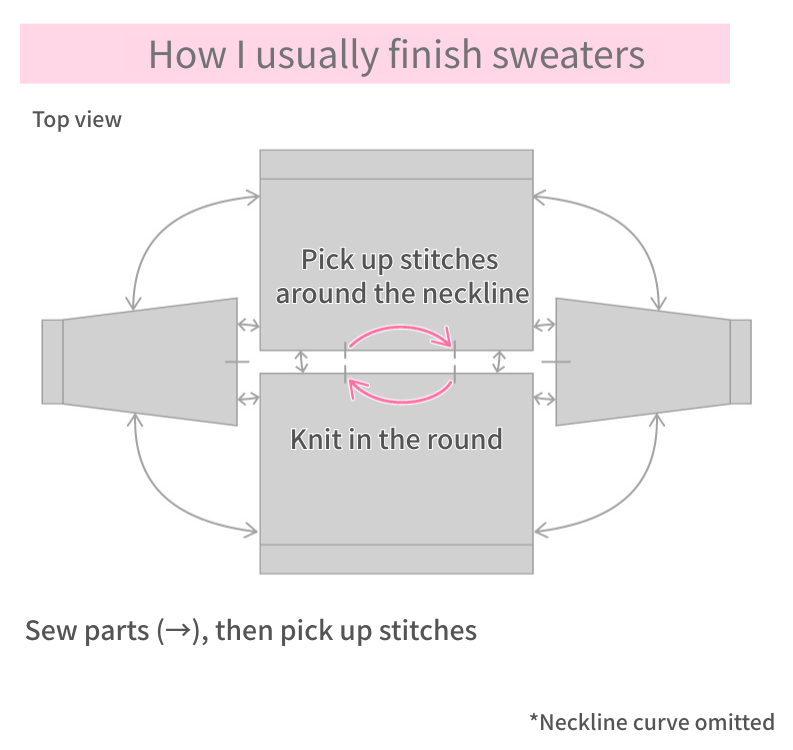
How I usually finish sweaters
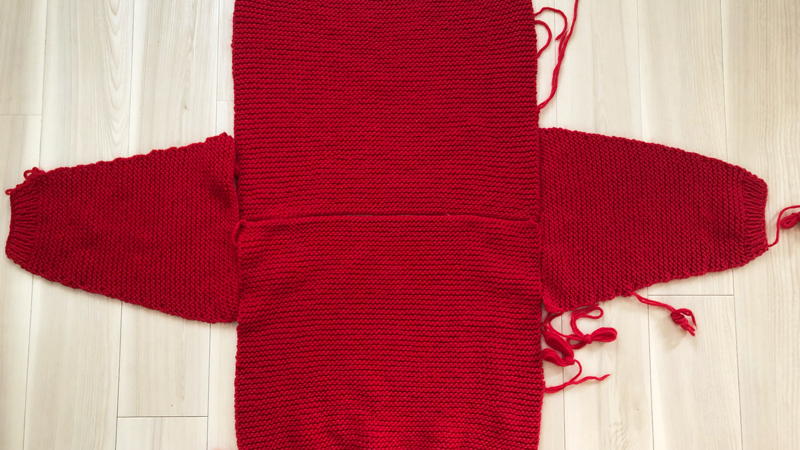
When I knit sweaters made from pieces (front, back, and sleeves),
the steps are usually like this in Japanese patterns:
- Seam the shoulders using mattress stitch or slip-stitch seaming.
- Seam the sides and sleeves.
- Pick up stitches around the neckline and knit the collar in the round.
That’s how I’ve always done it.
So I thought knitting the collar in the round was normal.
But this pattern changed my mind.
A surprising order in the Classic Sweater pattern

This was my first time using a knitting pattern written only in English.
My English is at a junior high school level,
but I can use a dictionary to look up words.
The design looked simple enough, so I thought I could do it.
But then I got stuck at the neckline part!
The pattern said:
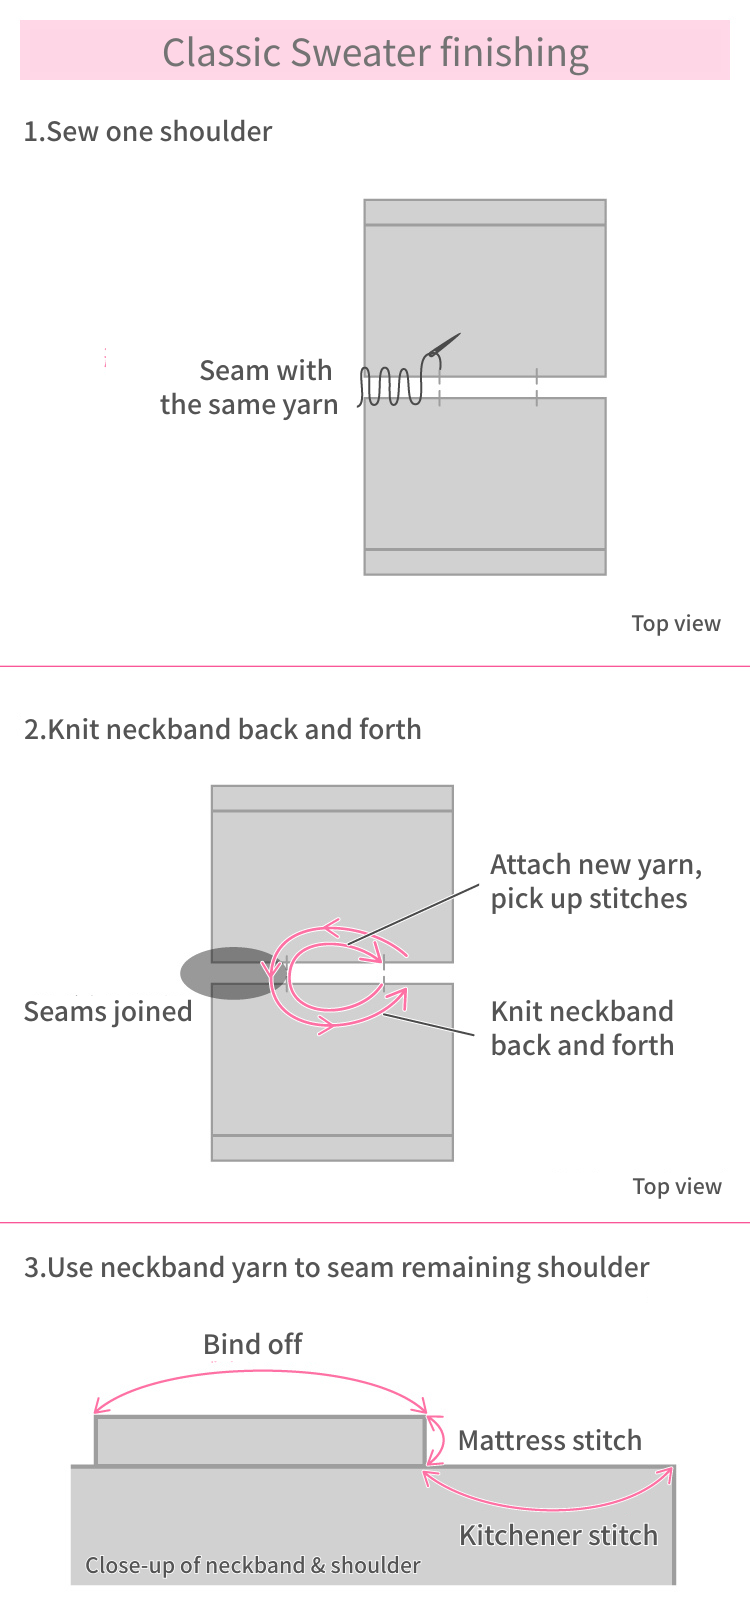
Thread the tapestry needle with the same yarn that you used for your project and sew one of the shoulders: Place the front and back sides together, lining up the shoulder seams. Sew 21 [23, 23, 25] stitches form one of the shoulders.
Pick up 54 [54, 58, 58] stitches around the neck (27 [27, 29, 29] from the back). Work 4 rows in 1×1 Rib stitches. Bind off.
Source: WAK Knitting Book
I was confused.
Only one shoulder? Why not both?
My husband, who works as a pattern maker for clothes, helped me.
He translated it like this:
“Sew one shoulder, pick up stitches for the neckline, knit the collar, sew the ends of the collar together, and then sew the other shoulder.”
After that, I finally understood what it meant!
Knitting the collar step by step
I seamed one shoulder first with mattress stitch.
Then I picked up the stitches for the neckline with straight needles.
(The kit includes straight needles, so this method makes sense!)
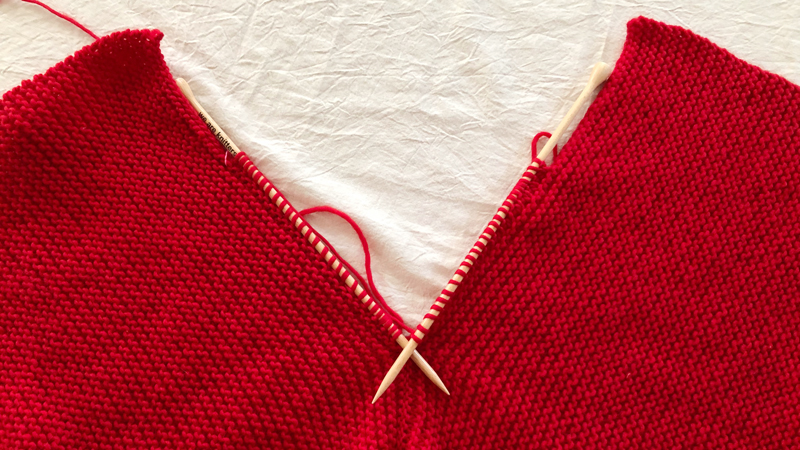
Next, I knitted the collar back and forth for the number of rows in the pattern.
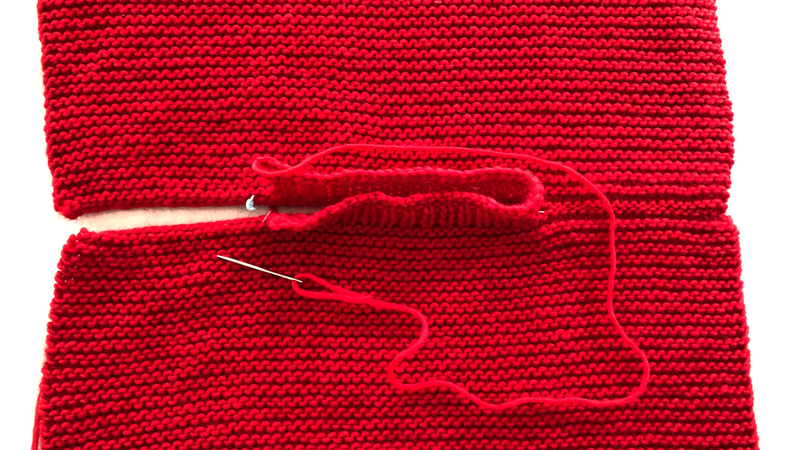
After binding off, I used the same yarn and needle to seam the ends of the collar together.
Then I seamed the second shoulder.
It worked very well!
A perfect pattern for beginners

This sweater is really simple and perfect for beginners.
Even if it’s your first English pattern, you can enjoy knitting it without stress.
The shape is classic, the stitches are easy, and the instructions are clear.
👇[25% OFF applied] Go to the official We Are Knitters website

Please note: the Classic Sweater kit isn’t linked here — search for it on the site 🙂
Also, the same pattern — and four other designs — are available for free download on Ravelry 👇
We Are Knitters – Free Patterns on Ravelry