In my previous post, I wrote about my confusion with the mysterious instruction called “Italian Bind-Off”. I simply couldn’t make sense of it at first, so I took the easy way out and used a standard 2×2 rib bind-off.
But of course… that didn’t sit right with me.
This cardigan deserved better.
So in this post, I want to share how I finally finished the front band of the Artisane Cardigan — and how I discovered that what Sandnes Garn calls “Italian BO” is actually a Tubular Bind-Off in disguise.
A Front Band Like I’ve Never Seen Before
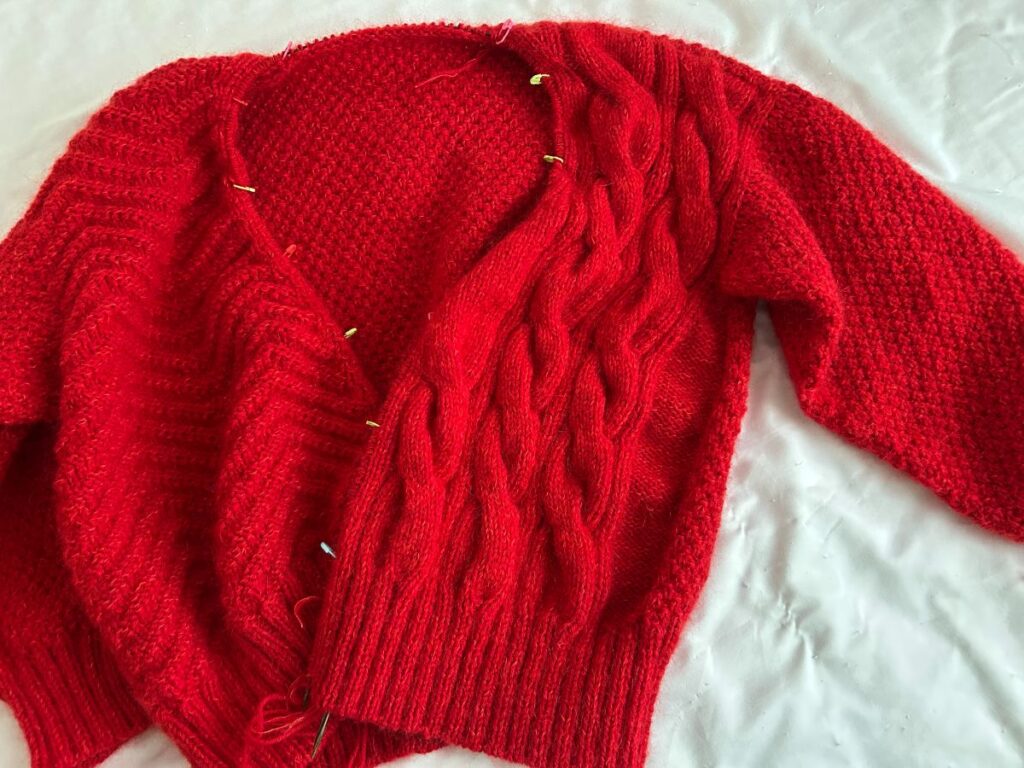
The front band construction in this pattern was completely new territory for me.
First, I picked up stitches all the way from the right front hem, around the back neck, and down to the left front hem.
So far, so good.
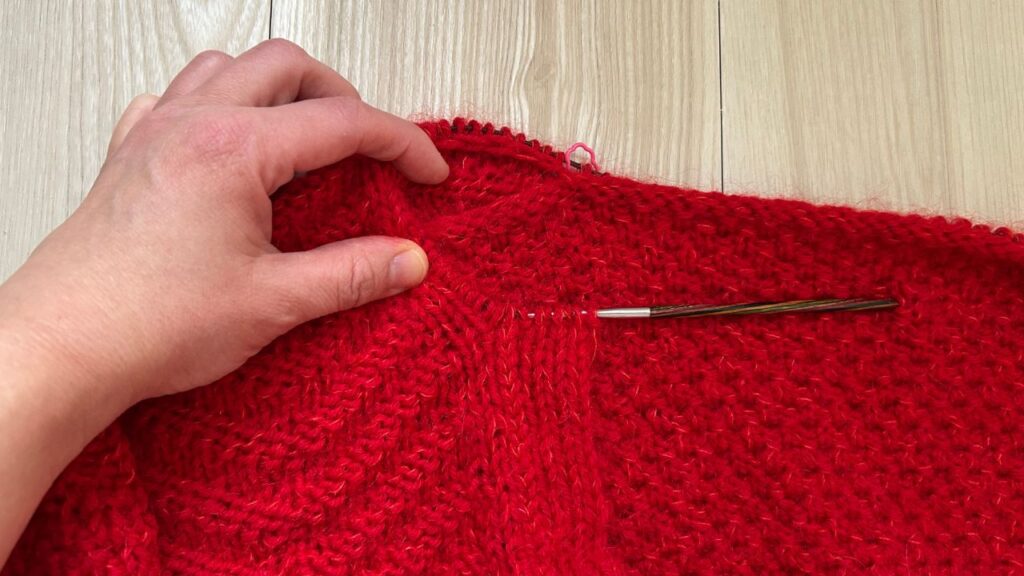
Picking up stitches:
First, I picked up stitches from the right front, back neck, and left front. Then, the pattern said “cut the yarn.”
Wait… now?
I stared at my work thinking, Why on earth would I cut the yarn here?
But I trusted the process and moved on.
Italian Cast-On:
Next, I used a long circular needle (120cm). From the right front edge, I did an Italian Cast-On while looking at the “wrong side” of the fabric.
Double Knitting:
Then I worked across the row, and that’s when it finally clicked — this structure is actually double knitting, often called a tubular front band.
It creates that beautifully hollow, professional-looking edge I had been wondering about.
The Slit Buttonhole Revelation
The buttonholes were another eye-opener.
Instead of binding off stitches and casting them on again in the same row, the pattern told me to split the double knitting into two layers at the marker. One layer goes on hold, the other is worked flat for a few rows, then both sides are joined again.
The result is a beautiful, vertical slit buttonhole — perfectly clean and strong, with no gaps or distortion.
||||||||||||
||||||||||||
||||||||||||
||||||||||||
note:|=k. || indicates a list.
I’d never done buttonholes this way before, and now I’m honestly in love with the method.
My Big “Aha!” Moment: Italian BO = Tubular BO
While knitting the front band, I suddenly realized something.
The motions I was making — slipping stitches, keeping yarn in front, working knit stitches and floating the purls — felt exactly like the setup rows I’d seen in tubular bind-offs before.
So I compared the hem I had finished with a regular bind-off to the front band edge.
The difference was obvious: the front band was thicker, rounder, and looked like something from a boutique cardigan.
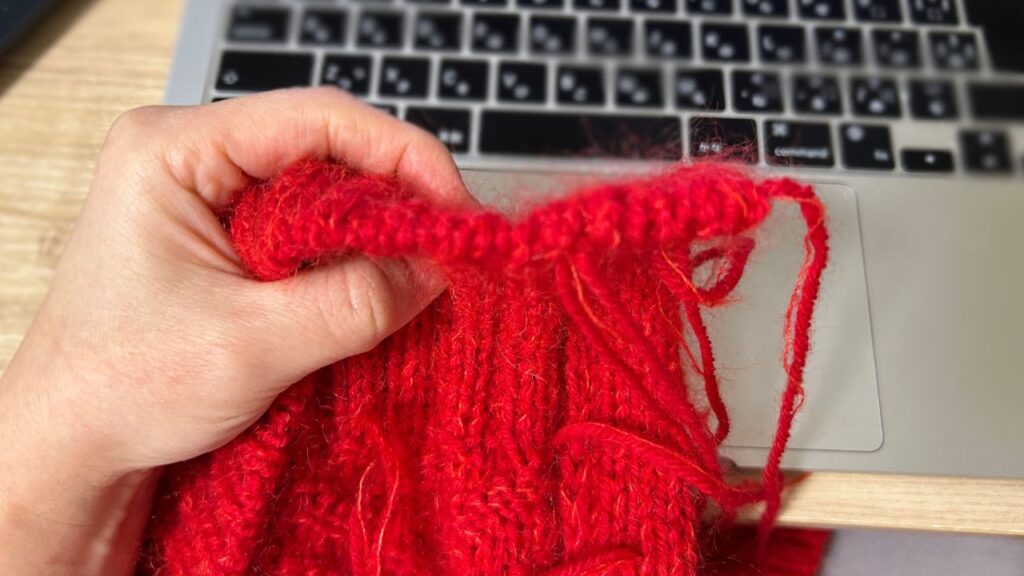
That’s when everything finally clicked.
In many English patterns, Italian Bind-Off and Tubular Bind-Off are basically the same thing.
And in this pattern, Sandnes Garn’s “Italian BO” clearly means:
- Split knit stitches and purl stitches onto separate needles
- Work setup rows to form a tube
- Finish with a sewn bind-off
Once I understood this double-needle structure, the whole construction suddenly made sense.
Final Thought
The Artisane Cardigan is full of little artisan-level techniques, but this front band taught me the biggest lesson of all:
When a pattern says “Italian Bind-Off,” don’t assume it’s just a fancy rib bind-off.
It might be a full Tubular Bind-Off hiding behind the name.
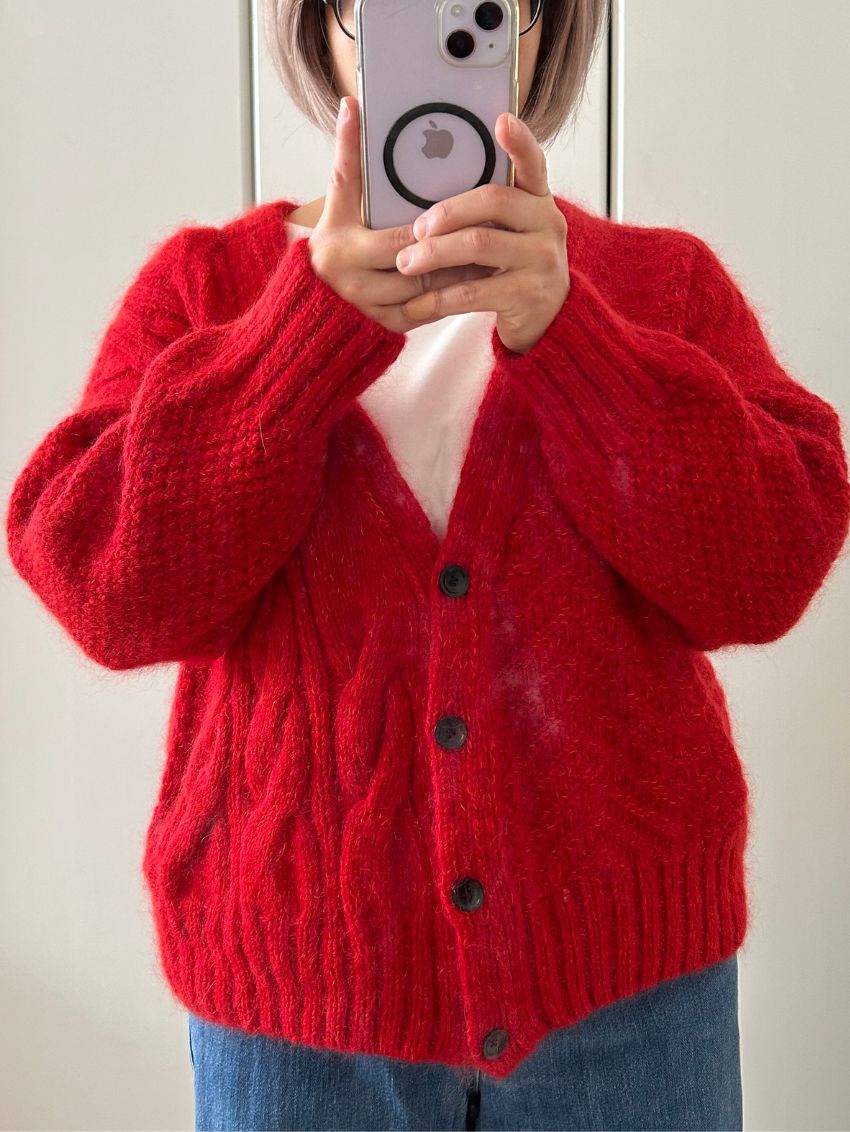
It takes more time, yes — but the finish is on a completely different level. And honestly? It’s absolutely worth it.

However, the V-neck turned out to be deeper than I expected, so I added one more button at the top. It pulls a tiny bit, but honestly, no one will ever notice.
Related Posts
This cardigan didn’t start smoothly at all.
Before I ever understood Italian BO, I was struggling to find the perfect shade of red
and completely hit a wall with the instructions.
If you’d like to read about that frustration and the moment I almost gave up,
you can find the full story in Part 1.