
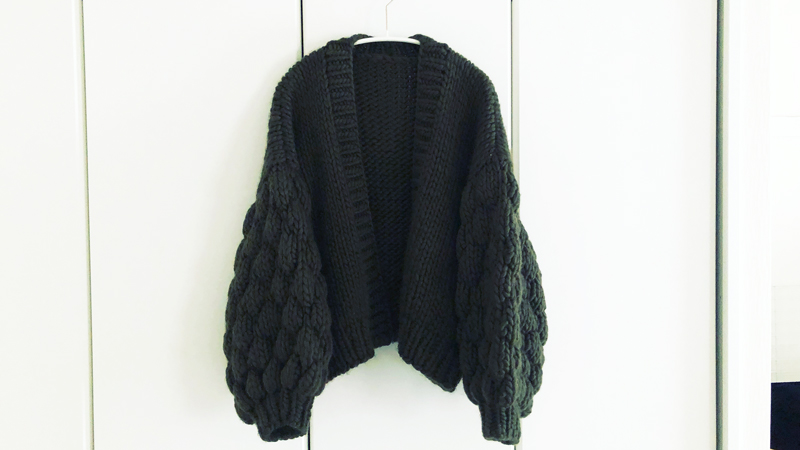
I finally finished the Hubble Bubble Cardigan, a design I’ve been wanting to knit for its cute sleeves.
This cardigan is made with super chunky yarn. It’s easy to knit but has a few quirky details that make it special. I used my favorite yarn, THE WOOL from We Are Knitters, with 10mm and 15mm needles.
Even if you’re not used to English patterns, it’s surprisingly easy to follow. Here’s a peek at how I made mine.
Where to Get the Pattern
You can buy the Hubble Bubble Cardigan pattern on Etsy or Ravelry.
I found the Etsy link via the designer’s Instagram and bought it there.

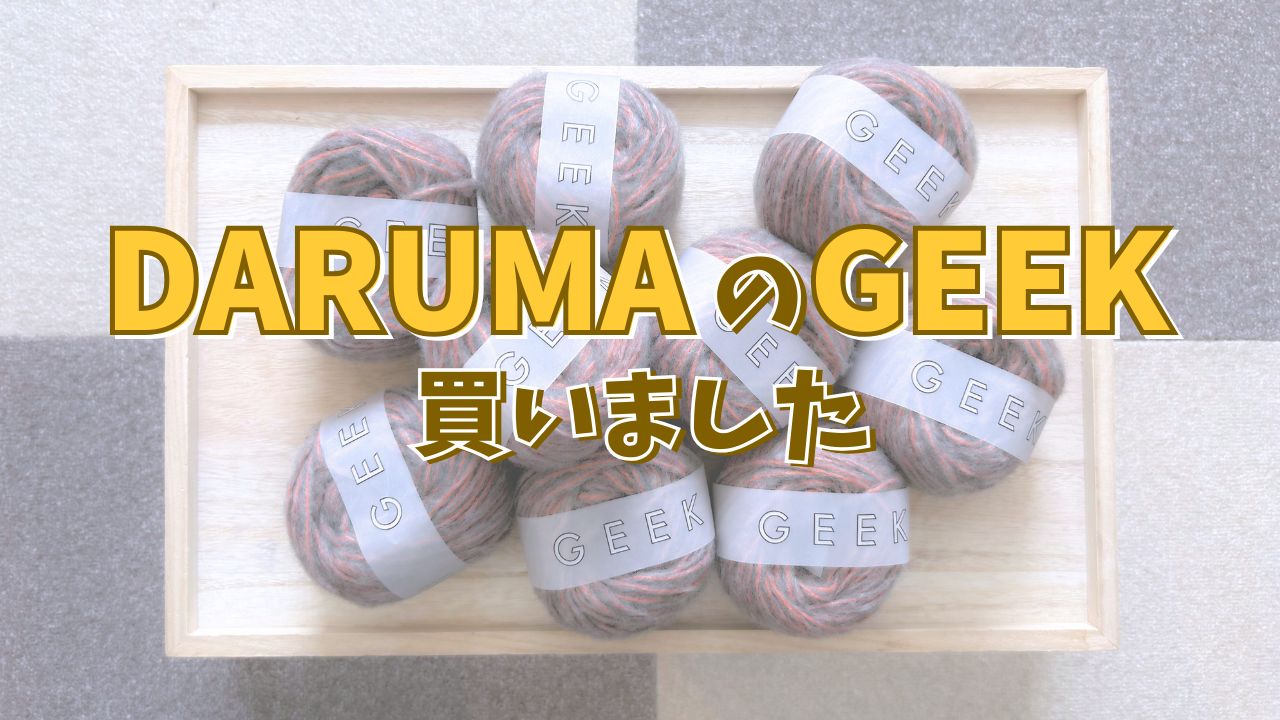
Yarn and Needles
I used the recommended yarn—THE WOOL from We Are Knitters.
The designer jokes that knitting this cardigan is like swapping your weekly cardio for a knitting session—it really does get heavy!
My arms felt it, so if you have wrist issues, a lighter yarn of similar thickness might be better.
How I Knitted It
Seamless Body
I started with the right front, then the back, and finally the left front in rows.
After that, I picked up stitches for the front bands and collar, then for the sleeves.
Why Isn’t the Ribbing an Odd Number?
Here’s something that felt very “Japanese” to me: the ribbing starts with an even number of stitches, so it doesn’t look perfectly symmetrical from the front.
It felt a little off, so I added one stitch to make it odd—just a small tweak to balance the look.
Joining the Shoulders
The pattern uses a “3 needle bind off,” which in Japan is called hikinukihagi.
Basically, it’s joining stitches by pulling them together. The designer’s video shows how to do it with knitting needles.
Sleeves
I picked up stitches under the arm and knitted in the round following back → shoulder → front. Then I worked a few rows in stockinette before making the Bubble Stitch rows (labeled MB in the pattern).
After reaching the required length, I decreased for the sleeve cap and finished the cuffs in 1×1 rib, then bound off to match the front bands.
Finishing and Steaming
After knitting, I gently washed the cardigan using Eucalan (no rinsing needed).
Steps: pre-soak → soak in Eucalan → spin dry → flat dry with a dehumidifier fan.
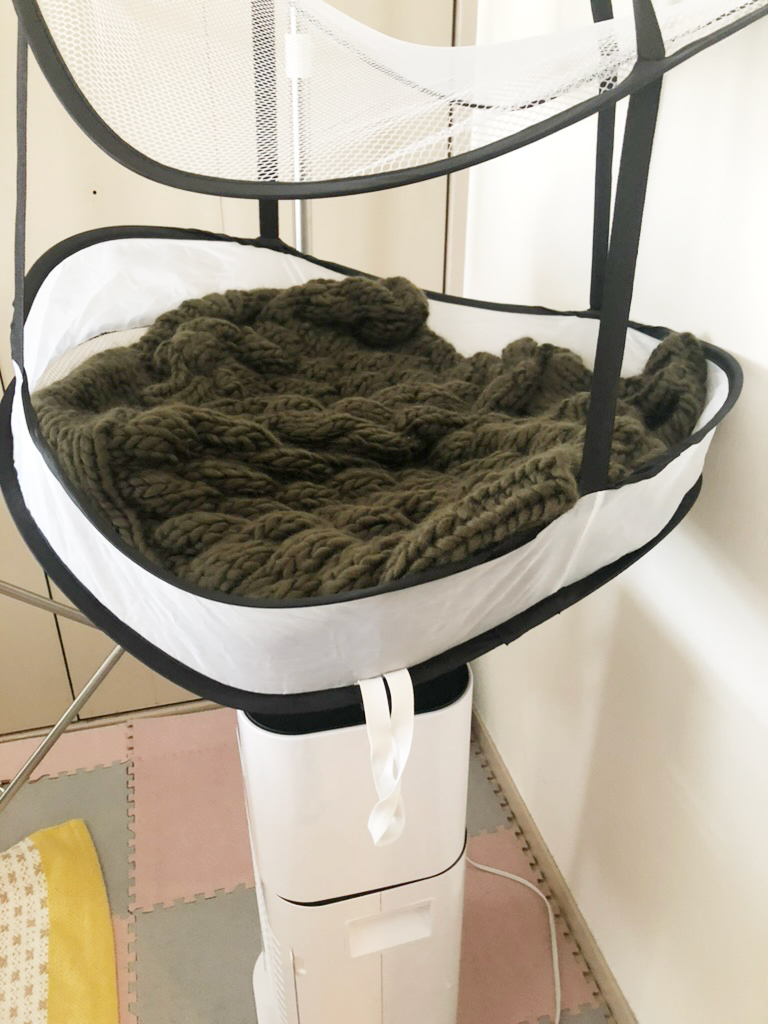
Once dry, I steamed it to shape using a large cushion covered with cotton fabric.
This method worked perfectly and gave the cardigan a polished look.
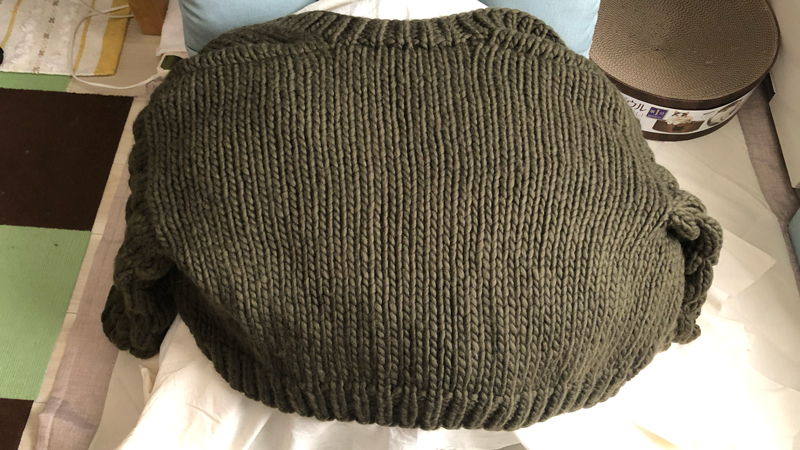
Tips for a Neat Finish
With super chunky yarn, joining yarn and weaving in ends is key.
I prefer not to tie knots. Instead, I fray and overlap the ends, which keeps the finish clean.
After weaving in, I lightly felted the ends with a felting needle, or just rub them gently with your fingers.
Wearing It!
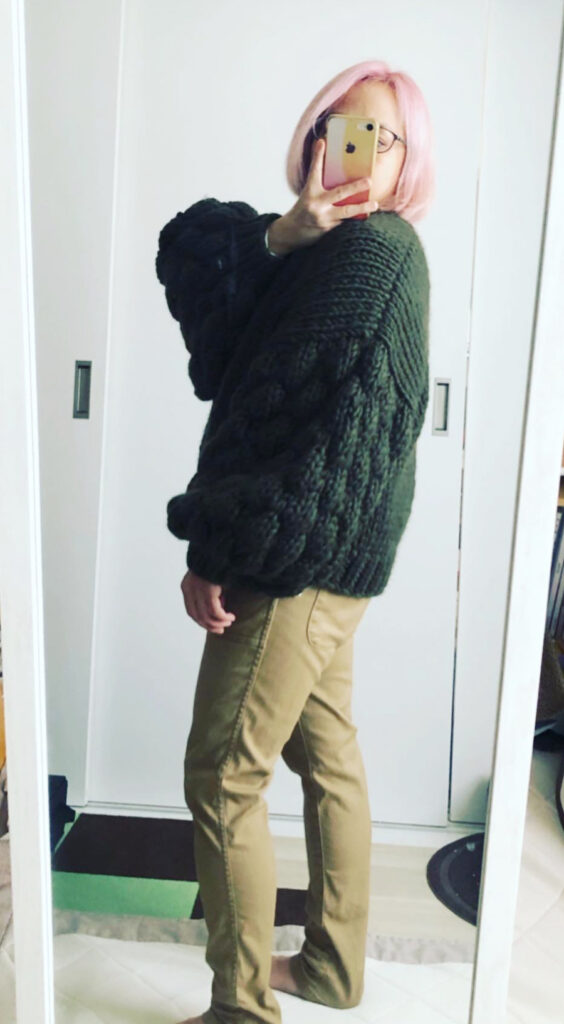
The cardigan is adorable, but heavy—1.3kg!
It might feel bulky for off-season storage.
Despite that, it was a fun project.
If you’d like to try it, you can get the pattern here:

I highly recommend it—you’ll love how it turns out!